Begin with confidence
Your Kling AI Tutorial for Beginners
This Kling AI tutorial for beginners gives you two practical starting routes: describe a scene with text, or guide the result with an image. Pick the route that matches what you already have, then follow the short workflow to make your first useful clip.
Choose your next guide
Use these related guides when you want a slower walkthrough, stronger prompts, or a different first step.
Text-first workflow
Path A: Start with a simple text prompt
Choose this route when you have an idea but no reference image. The goal is not to write a perfect screenplay; it is to give Kling AI one clear visual assignment.
-
1
Name the subject and action
Start with who or what the viewer should see, followed by one visible action. For example: “A cyclist rides along a coastal road.” Keep the first attempt concrete rather than packing several events into one sentence.
-
2
Add camera, setting, and mood
Describe where the scene happens and how it should feel. Add one camera direction such as a slow push-in, tracking shot, or wide establishing view. These details help turn a static description into a video brief.
-
3
Generate, watch, and adjust one variable
Review the result for subject consistency, movement, framing, and unwanted details. On the next attempt, change one weak area instead of rewriting everything, so you can tell which instruction helped.
Image-led workflow
Path B: Guide the result with an image
Choose this route when you already have a still image, character design, product shot, or composition you want to animate. Your prompt should explain the movement rather than repeat every visual detail.
-
1
Use a clean starting image
Choose an image with a clear subject, readable edges, and enough space for the action you want. A simple composition is easier to animate than a crowded scene with many small objects.
-
2
Describe only the motion
Tell Kling AI what should move, how quickly, and how the camera should behave. Try: “The dancer turns slowly toward the window while the camera makes a gentle arc to the left.”
-
3
Check identity and motion quality
Watch for changes to faces, hands, logos, text, and object shape. If the subject drifts, reduce the number of actions, use a steadier camera instruction, or begin with a less complicated image.
Review the output
Final check: Compare the brief with the result
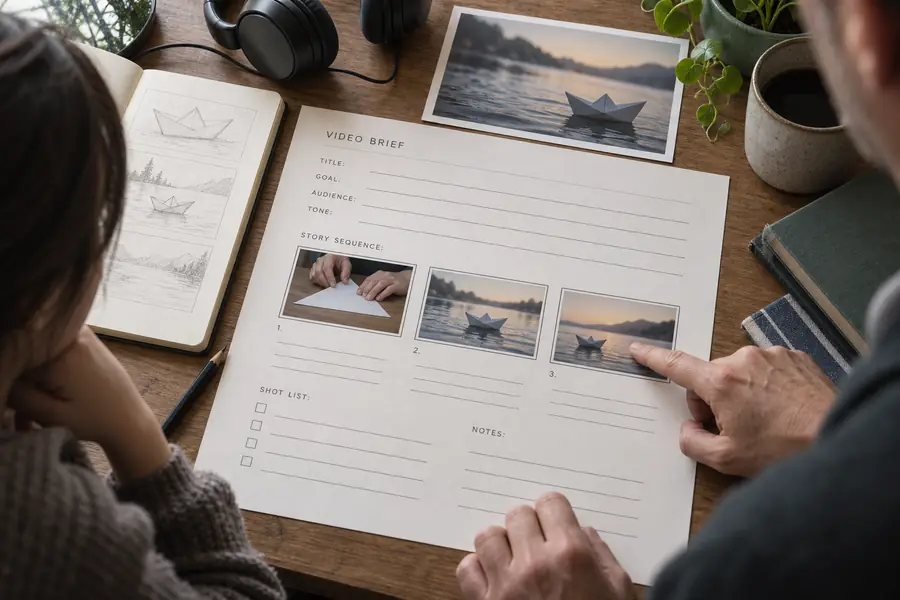
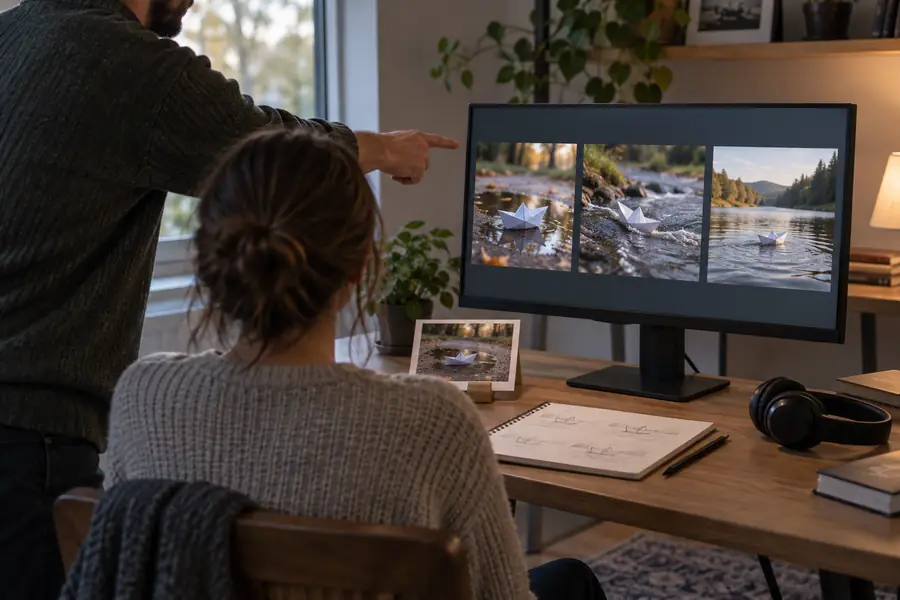
A beginner-friendly review is more useful than chasing a flawless first generation. Compare what you asked for with what actually appears, then decide whether to refine the prompt or change the input.
- Before: clear brief
- After: inspect the clip
Look for the subject, action, camera, and unwanted changes in that order.
Know the boundaries
What this beginner route cannot do
A simple workflow removes unnecessary friction, but it cannot guarantee perfect motion or preserve every detail. These limits are normal parts of generative video work, not signs that every prompt failed.
-
It cannot force every detail to stay identical
Faces, hands, fine text, logos, and small objects may shift between frames, especially when the scene includes fast movement or several subjects.
WorkaroundUse a simpler image, reduce the number of moving elements, and describe one main action at a time.
-
It cannot repair a vague idea by itself
A prompt such as “make a cool video” leaves the subject, setting, action, and camera unclear, so the result may not match your intent.
WorkaroundName the subject, visible action, location, camera movement, and mood before adding stylistic extras.
-
It cannot make complex choreography reliable on the first try
Multiple characters, changing locations, intricate interactions, and rapid camera moves create more opportunities for continuity errors.
WorkaroundBreak the concept into separate clips and use short, readable actions for each generation.
-
It cannot replace a final human review
A clip can look attractive while still containing an unwanted object, awkward transition, incorrect movement, or visual detail that should not be published.
WorkaroundWatch the full clip at normal speed and inspect the beginning, middle, and final seconds before sharing it.
Use a repeatable rhythm
A simple beginner benchmark
Treat your first session as a controlled experiment. These three checkpoints keep the process small enough to understand and flexible enough to improve.
- 1 Subject, action, and setting form the basic prompt.
- 3 parts
- 2 Start with text or guide the result with an image.
- 2 routes
- 3 Adjust one weak variable between attempts.
- 1 change
- 4 Review the actual clip instead of trusting the prompt alone.
- 0 assumptions
Beginner questions
Tutorial FAQ
These answers cover the common decisions behind a free beginner tutorial and help you choose a sensible first experiment.
Yes. Start by choosing whether you have only an idea or already have an image to animate. Then write one clear subject-and-action prompt, add a setting and camera direction, generate a short result, and review what changed.
You can learn the workflow without committing to a complicated setup: prepare a prompt, choose the appropriate input route, and inspect the generated result. Availability, limits, and included generation access can change, so check the current tool interface before planning a larger project.
Use text-to-video when you are starting with an idea and want the system to create the scene from a description. Use image-to-video when composition, character appearance, or a product image matters more than inventing the starting frame.
Include a clear subject, one visible action, a location or visual context, and a simple camera instruction. Add mood or style only after the core scene works; too many competing directions make it harder to understand why a result succeeded or failed.
Identify the single biggest problem, such as weak movement, an unclear subject, or an unstable camera. Rewrite only that part, keep the rest of the prompt similar, and compare the new clip with the previous version.