Free video workflow
How to use kling ai for free: a practical first session
This guide shows how to use kling ai for free from your first prompt to a cleaner video result. Follow the steps in order, then use the fixes and advanced tips to refine your next generation.
Before you begin
Prerequisites
A few simple checks make a free Kling AI session smoother and help you spend available generations on useful tests.
-
1
Choose one clear idea
Decide what the subject does, where the scene takes place, and what camera movement you want. One focused action is easier for Kling AI to interpret than a crowded sequence.
-
2
Prepare a source image if needed
For image-to-video work, use a sharp image with a clear subject and enough visual space for movement. A clean starting frame usually gives more predictable motion.
-
3
Set a small test goal
Start with a short concept test rather than a finished commercial. Check motion, framing, and consistency first, then improve the prompt before making another free generation.
-
4
Keep the prompt specific
Mention subject, action, setting, style, lighting, and camera behavior in plain language. Avoid stacking unrelated effects that compete for attention.
Continue learning
Numbered steps
Use these related guides when you want a slower introduction, stronger prompts, or a workflow built around a specific type of video.
Refine the request
Common errors and fixes
Most disappointing results come from an unclear action, overloaded prompt, or source image that leaves too little room for motion.
- Unfocused prompt
- Focused prompt
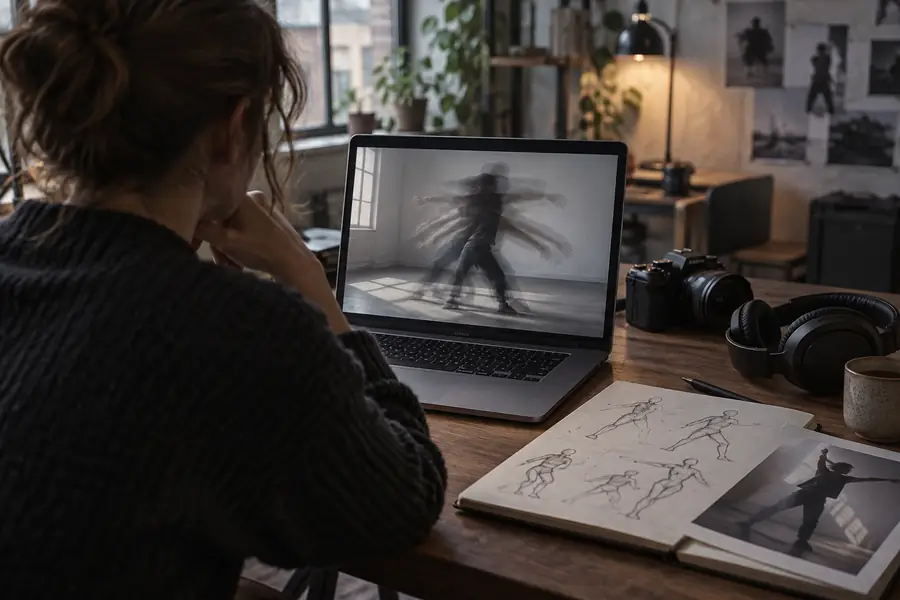
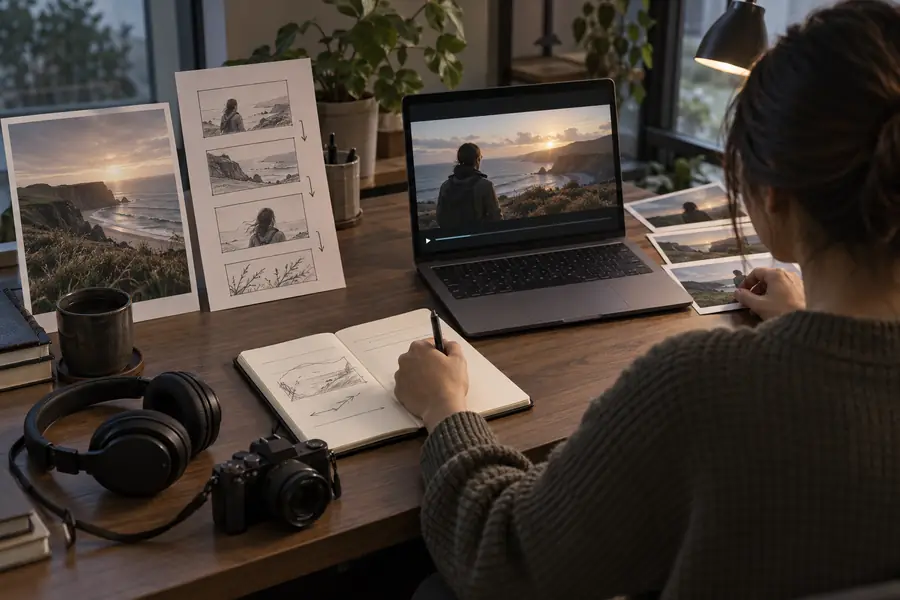
Before: several competing actions. After: one subject, one action, and a defined camera move.
Make better tests
Advanced tips
Once the basic workflow works, compare each generation deliberately. Changing one variable at a time makes it easier to understand what improved the result.
Quick free test
Controlled refinement
Prompt length
Quick free test
One subject, one action, and one setting.
Controlled refinement
Add camera, lighting, texture, and timing details only when they serve the shot.
Source image
Quick free test
Use a clear frame with a centered subject.
Controlled refinement
Use composition that leaves visible space in the intended direction of movement.
Camera direction
Quick free test
Describe one move such as slow push-in or side tracking.
Controlled refinement
Combine a move with a speed and focus target, such as a slow push-in toward the face.
Motion design
Quick free test
Ask for a simple natural action first.
Controlled refinement
Specify how clothing, hair, water, smoke, or background elements should respond.
Iteration method
Quick free test
Change several words after each attempt.
Controlled refinement
Change one variable per test so the useful improvement is clear.
Quality check
Quick free test
Judge the overall impression after the first render.
Controlled refinement
Review hands, faces, object edges, temporal consistency, and unwanted movement.
Free usage
Quick free test
Reserve free generations for short concept checks.
Controlled refinement
Save the strongest prompt and source combination before attempting a polished sequence.
Set expectations
Advanced tips: know the limits
A free Kling AI workflow is useful for exploring ideas, but it is not a guarantee of perfect continuity, exact control, or unlimited output.
-
It cannot guarantee exact details
Text, logos, fingers, faces, and small objects may change between frames or generations.
WorkaroundKeep important text out of the generated scene and add precise labels during editing.
-
It cannot fix every source image
A blurry, cropped, or ambiguous image can produce unstable movement even with a strong prompt.
WorkaroundUse a sharper source with clear subject boundaries and simplify the requested action.
-
It cannot create unlimited free tests
Free access may include usage limits, queues, model restrictions, or changing availability.
WorkaroundTest short ideas first, record successful prompts, and check the current access terms before planning a large project.
-
It cannot replace an editor
Generated clips may need trimming, sequencing, sound design, captions, color work, or continuity fixes.
WorkaroundTreat Kling AI as a shot-generation step and finish the strongest clips in a separate editing workflow.
Your questions
Tutorial FAQ
These answers cover the practical questions people ask when they want to use Kling AI without paying for a first experiment.
Open the available Kling AI video workspace, choose a generation mode, and enter a focused prompt or upload a suitable image. Submit a short test, review the result, and refine one part of the prompt at a time while free access is available.
Kling AI may provide a free access path or limited generations, but availability, queues, features, and usage rules can change. Check the current workspace terms before relying on free output for a deadline or client project.
Start with one subject performing one visible action in one setting. A short text-to-video test is usually the simplest first exercise; once the motion works, add camera, lighting, and style details gradually.
Use a clear prompt with subject, action, setting, camera movement, and visual style. If the result fails, change only one element, such as the action or camera direction, so you can identify what helped.
Video models interpret descriptions probabilistically, so they may omit details or change faces, objects, and motion. Simplify competing instructions, use a stronger source image when appropriate, and describe the main action before secondary effects.